
Quick answer: Depop photo size and ratio
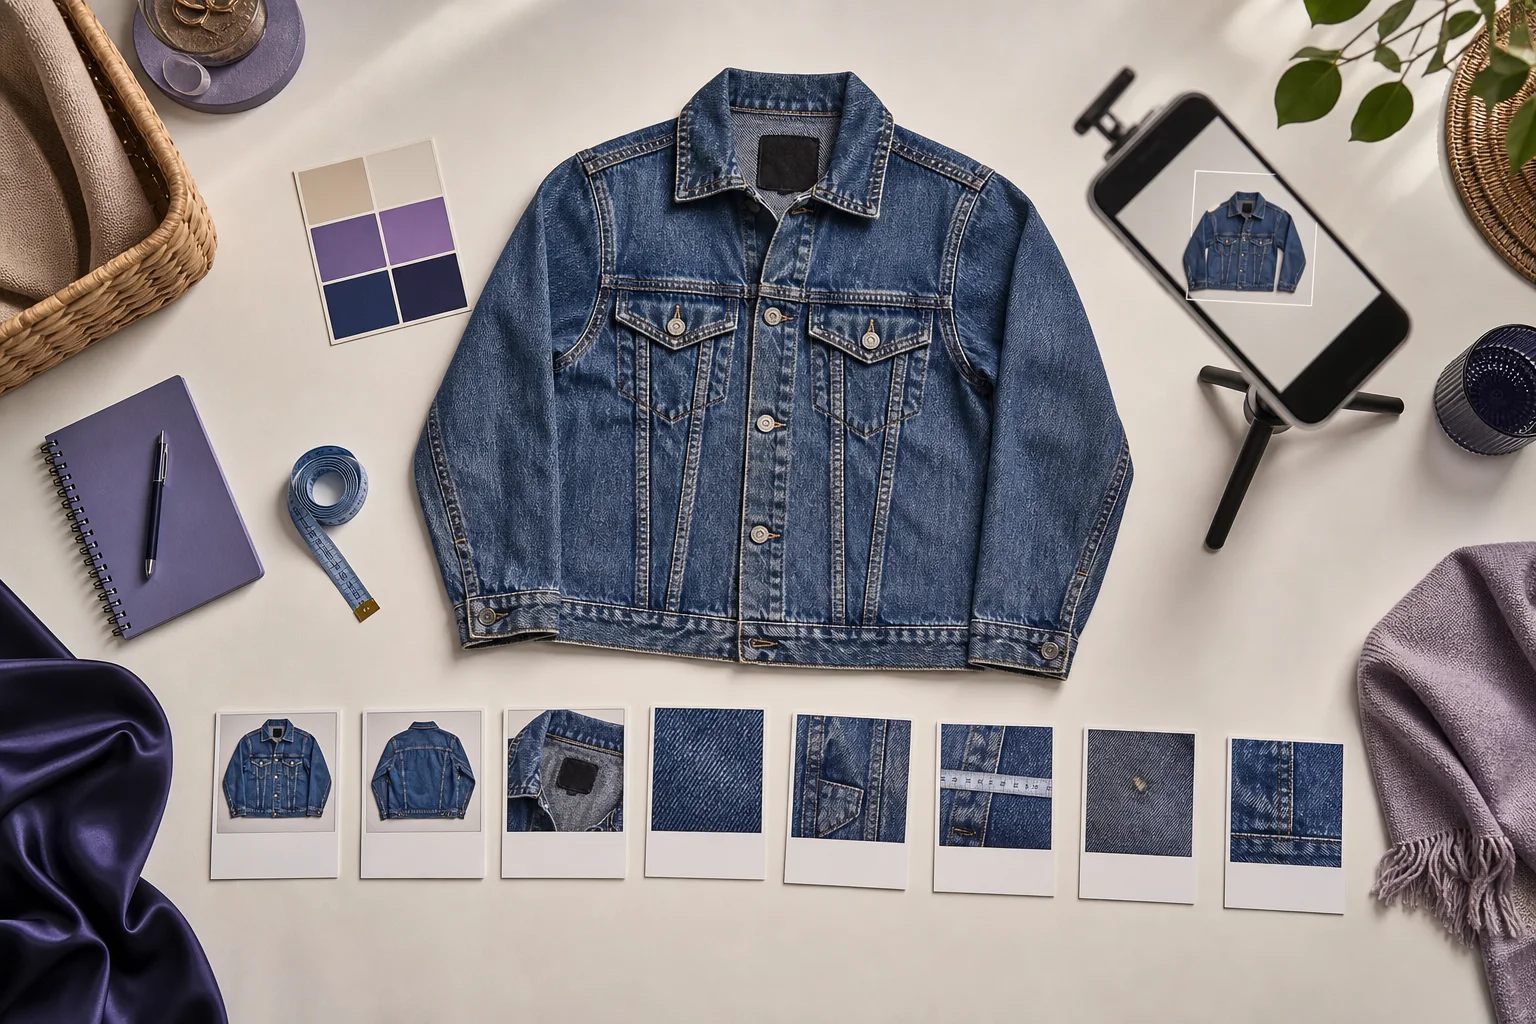
For a practical starting point, export a 1600 × 1600 pixel image with a square 1:1 aspect ratio. Keep the original high-resolution file and leave space around the item so the cover crop does not cut off sleeves, hems or shoes.
1600 × 1600 px is Listalong’s recommendation, not an official Depop minimum. The listing help checked for this guide does not specify a mandatory pixel dimension. Use your own clear photos of the actual item and inspect the finished listing on your phone.
This guide separates published platform instructions from our photography recommendations, then shows how to prepare a useful set of clothing photos.
Depop photo requirements: official versus practical
| Question | What Depop currently says | Practical approach |
|---|---|---|
| Must photos be original? | Yes. Depop says not to use stock photos or copied images. | Photograph the exact item you will send. |
| How many images? | The listing guide describes four photos and one video in the app, and eight photos on web. | Follow the limit in your current listing screen and prepare up to eight useful shots. |
| Required pixel size? | No clear minimum pixel dimension is published in the main listing help. | Keep a sharp master and export around 1600 × 1600 pixels. |
| Shape? | The current listing help does not specify a mandatory aspect ratio. | Compose with room to make a clean 1:1 crop. |
| Can photos hide faults? | Listings must be honest and accurate. | Photograph and describe every meaningful flaw. |
This distinction matters. An app feature can change without warning, while the durable rule is that the buyer should be able to understand the item they are purchasing.
How many Depop photos can you use?
Depop’s listing instructions, checked on 28 September 2026, distinguish between the app and web listing forms. Use the limit in your own form rather than assuming every interface has the same number of slots.
Do not add filler just to reach a number. Six clear, different photos are more useful than eight near-identical angles.
The eight-shot clothing sequence
When eight slots are available, this is the order I would use for a second-hand shirt, jacket or dress:
- Cover photo: the complete item, centred and easy to recognise.
- Back: the whole rear of the item.
- Brand and size label: sharp enough to read.
- Fabric or care label: useful for material and care information.
- Key detail: embroidery, print, hardware, texture or construction.
- Measurement: tape placed clearly across a relevant dimension.
- Flaw: close enough to see the issue, but not so close that its location is confusing.
- Fit or second full view: a modelled view, hanger shot or alternative angle.
For four available slots, combine the job intelligently: cover, back, label/details and flaw or measurements.
What dimensions should you actually use?
There are three different ideas that are often mixed together:
- Pixel dimensions determine how much detail the file contains.
- Aspect ratio describes its shape.
- File size is how much storage or upload data it uses.
A 1600 × 1600 image is square and contains enough detail for most clothing labels and condition shots. A 600 × 600 image is also square, but may become soft when a buyer zooms in.
My low-fuss workflow is:
- Photograph at the phone camera’s normal high quality.
- Keep the uncropped originals.
- Crop a square version with breathing room around the garment.
- Export at roughly 1600 × 1600 pixels.
- Check the final listing on a phone before publishing.
Avoid repeatedly sending photos through messaging apps before uploading them. Some apps compress images and can make label text or fabric flaws harder to see.
Square photos without cutting off the item
A square cover is our practical recommendation for an easy-to-review thumbnail. Frame loosely while shooting so you have room to crop without losing part of the item.
Leave space around sleeves, hems and shoes. If the original photo is already tight, a square crop may cut off the exact part a buyer wants to inspect.
For long items such as coats or dresses, step farther back or place the item diagonally only if it still looks natural. Do not distort the image to force it into a square.
Your cover photo has one job
The first photo should let a buyer identify the item in a second or two.
Use:
- Soft, even light
- A simple background
- The entire item in frame
- Accurate colour
- A straight horizon or tidy flat lay
- Enough contrast between the item and background
Avoid leading with a label, a tiny flaw or an extreme close-up. Those images are valuable later in the sequence, but they make a weak shop-grid thumbnail.
Depop now provides in-app photo editing tools in some listing flows. Background cleanup can help, but it should not change the item’s real colour, texture or condition.
Photographing colour accurately
Colour disputes are difficult because two phone screens can display the same photo differently. You can still reduce the risk:
- Photograph near a window in indirect daylight.
- Turn off coloured lamps.
- Avoid mixing daylight with warm ceiling light.
- Check whether white or grey areas look neutral.
- Compare the garment with the photo before packing it away.
- Describe difficult colours in words, such as “blue-green teal” or “warm cream”.
Do not increase saturation until a faded shirt looks new. An attractive but inaccurate image creates the wrong buyer expectation.
Show labels, measurements and flaws
The detail photos are evidence, not decoration.
For labels, tap the screen to focus and move the phone back if the camera cannot focus at very close range. For measurements, keep the tape flat and show where it starts and ends. For flaws, include one close-up and, where useful, a wider photo showing where the flaw sits on the item.
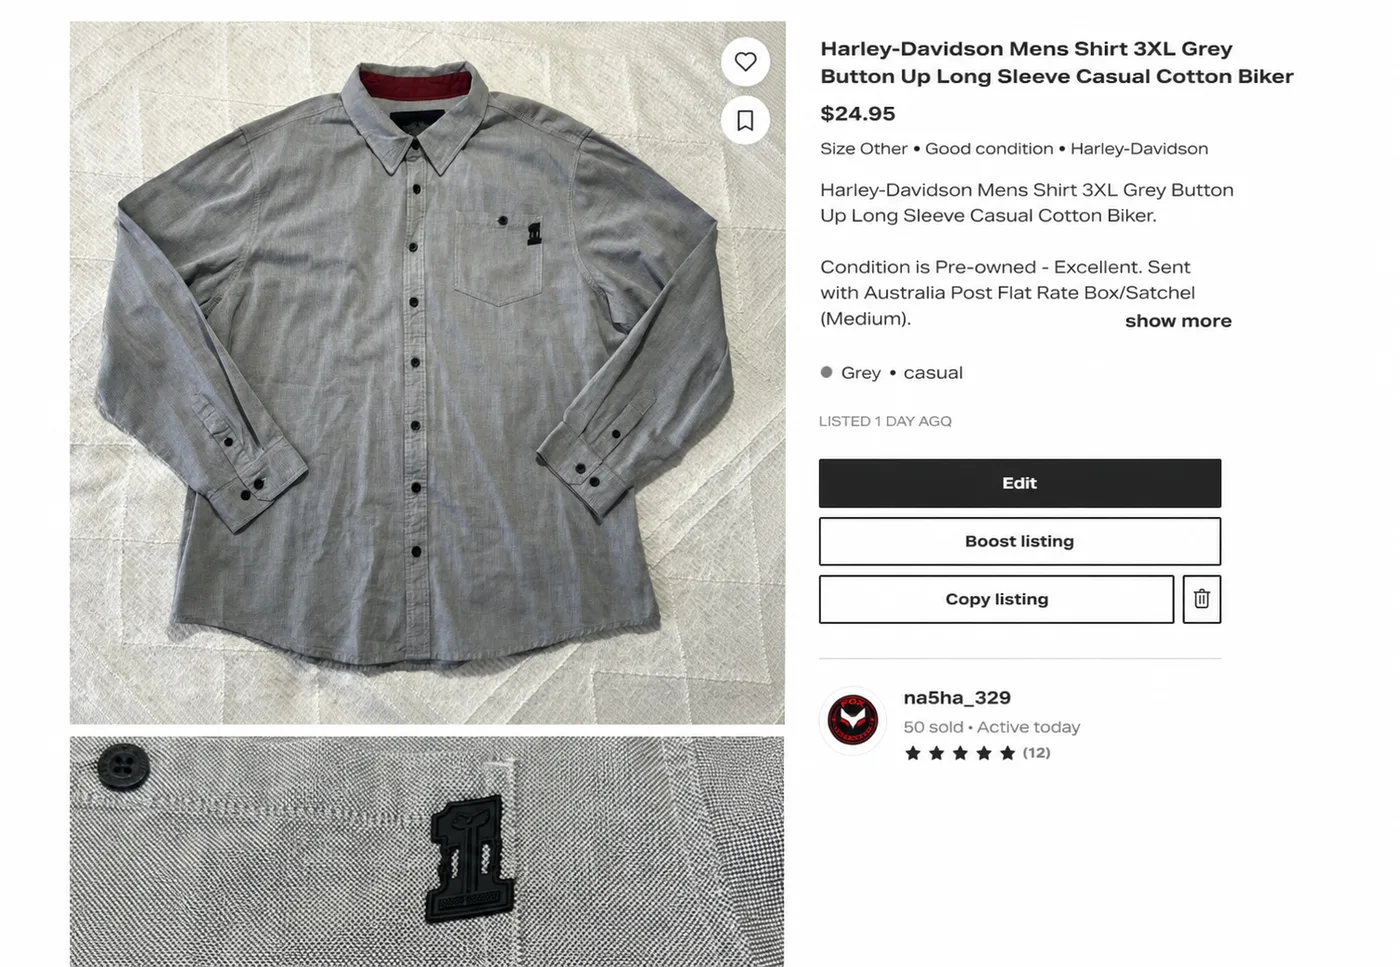
The written description should still disclose the flaw. A buyer may not study every photo, and a small mark is easier to understand when both shown and named.
Can you reuse eBay listing photos?
Yes—provided they are your photos of the same item.
That is one of the biggest time savings in an eBay-to-Depop cross-listing workflow. A strong eBay photo set already includes the item, labels, measurements and condition. The Depop task is often just to select a stronger cover, crop carefully and put the images in a buyer-friendly order.
Do not reuse an eBay image if it contains:
- An eBay logo or marketplace-specific graphic
- Old pricing or postage text
- A watermark that hides the garment
- A different item or colour variation
- A collage too small to inspect on mobile
A five-minute photo check before publishing
Open the draft on your phone and ask:
- Can I identify the item from the cover photo?
- Is the colour believable?
- Are the front and back visible?
- Can I read the size and brand labels?
- Are important details and faults shown?
- Is anything cropped off?
- Do all photos belong to this exact stock item?
If the answer is yes to all seven, the photo set is doing its job.
Sources checked
Listing instructions, search guidance and stock-image rules were rechecked on 28 September 2026. Other sources below retain their original 20 July 2026 research date:
- How to list an item
- How to improve the search ranking of an item
- What are stock images?
- Depop Community Guidelines
- Listing on the web
Platform limits and editing tools can change. Check the current listing screen when you publish.